My journey into breaking in hiking boots started long before I knew it had a name. Through my countless trail miles, early blisters, and stiff leather, I learned the hard way why you cannot skip the break-in process. New boots need time to adjust to your feet. You’ll most certainly have an uncomfortable hike if you skip the breaking-in process.
This guide walks you through what I’ve learned — not in theory, but out there on the trail — to help you break in your hiking boots the right way, avoid injury, and get back to what matters: enjoying the hike.
Why Break in Boots?
No matter how premium the boot or polished the pitch, new hiking boots almost always come with a stiff reality check. The new shoes’ fresh feel and rigid soles may look trail-ready, but seasoned hikers know better. In the field, new boots can rub, pinch, and punish.
And it doesn’t matter if you’re lacing up a $300 leather pair or a featherweight synthetic — if you don’t break them in, your feet will pay the price. It takes time for the material to become more supple and adjust to your foot shape. I’ve found that a good break-in helps prevent soreness and makes hikes safer.
Break-In Process
Duration of Break-In
Over the years, I’ve come to treat the break-in process like training for a long-distance hike: slow, deliberate, and absolutely essential.
From my experience, I’ve found that break-in time varies — some synthetic boots soften in a weekend, while full-grain leather pairs can take weeks of wear to truly settle in. The sweet spot? Let the boots shape to your feet, not the other way around.
In testing, I learned that rushing this step is where most hikers go wrong. Every hot spot or pressure point tells a story — and it’s usually one of too much too soon.
When I eased into the process, though, letting each boot flex and adapt over time, the payoff was crystal clear: more comfort, fewer blisters, and boots that felt like an extension of the foot instead of a burden on it.
Selecting the Right Boots
Fit
A smooth break-in starts with boots that actually fit — and that part gets overlooked more than you’d think. If you want to break in your boots fast, then buy boots that feel comfortable right out of the box, like Columbia Crestwood Shoes — and here are the best Columbia hiking shoes I’ve tested for trail-ready comfort..
I strongly advise against buying boots that do not fit right out of the box, even if they’re best sellers, based on my experience. From person to person, foot size varies. So it does not matter if one boot is popular among the majority of hikers — that doesn’t mean it will fit you well.
The right fit isn’t just about size — it’s about knowing how your feet swell on long days, how snug the heel should feel, and what kind of support your arches really need.
I try boots on with my hiking socks — usually a midweight merino wool socks— and do a full lap around the store, up stairs if possible. If there’s any pinching or pressure, especially in the toe box or around the ankle, that boot usually doesn’t make the cut.
And here’s a tip I live by: your foot should feel secure but not strangled, with just enough room up front to wiggle your toes.
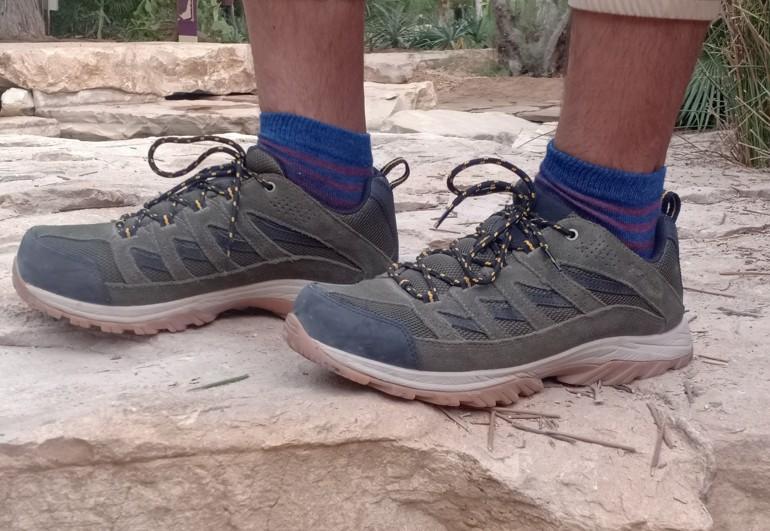
Material
Owing to their stiffness and unyielding give, leather boots need more break-in time than synthetic ones. Some people prefer leather over synthetic materials because it’s more durable. I’ve worn pairs that took weeks to fully soften — but once they did, they were great on the trail.
On the other hand, synthetic boots adjust to your feet more quickly. They also feel softer to the touch. They’re lighter, more flexible, and easier to break in — but you trade a bit of long-term toughness. It’s a balance, and it depends on where and how you hike.
Start Wearing at Home
Indoor Usage
Begin breaking in your boots by wearing them indoors with hiking socks. Walk around the house, up stairs, and outside in the yard. This helps the boot begin to flex and form to your stride without the risk of terrain-induced blisters.
As you’re testing out the boots, check for any immediate discomfort or pressure points. Notice how the boots feel. Do they slip at the heel? Do they pinch your toes? In many cases, you can adjust the fit by loosening the laces.
We recommend lacing up with your full hiking setup — socks, comfortable insoles, even orthotics if you use them — and tuning into every little signal your feet send. Is there heel lift when you step? Any pinching across the top?
These are the kinds of issues that only show up once the boots are in motion, not sitting on a store shelf. You will notice that, little by little, the stiffness fades, and the materials begin to give.
Short Walks
When the boots feel comfortable indoors, start taking shorter walks around the block. This will ease you into the breaking-in process since the material will begin to flex and mold to your foot shape.
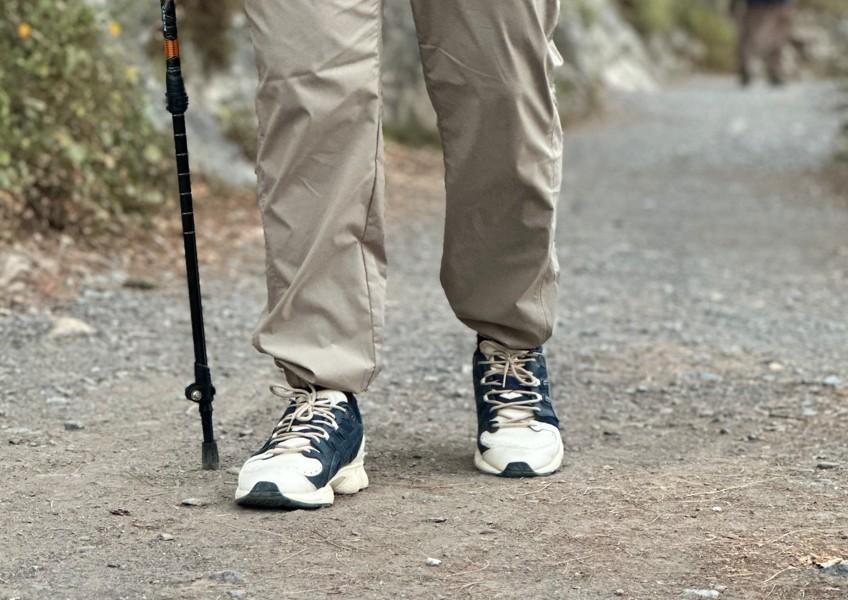
I like to start with short walks around the neighborhood — nothing technical, just enough to let the materials move and breathe in real-world conditions.
I usually aim for 15–30 minutes at a time, keeping a close eye on any rubbing or hotspots. Sometimes all it takes is a tweak to the lacing to fix an issue before it turns into a blister.
Gradual Outdoor Use
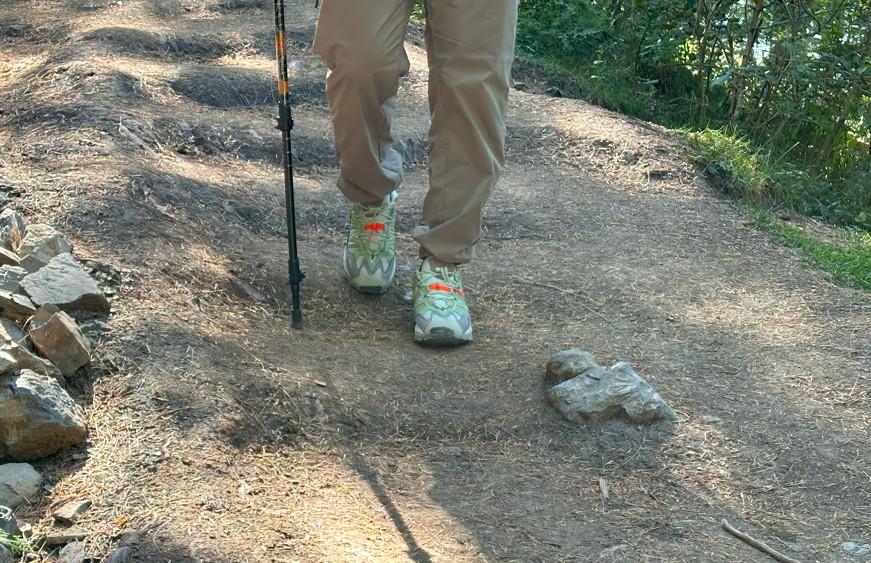
Now that you’re getting used to the boots, start taking short hikes on straightforward terrain. Gradually increase the distance and terrain difficulty as your feet start to adjust to the new shoes. I suggest covering varied terrain types, with a mix of downhill and uphill stretches.
Watch for any discomfort or rubbing during your short hikes. Pack tape or bandages, as blisters can develop on early walks. I take new boots on short, local hikes with mellow elevation and solid footing.
I’ve found that mixing in light elevation and varied terrain helps the break-in happen more naturally.
A bit of uphill engages the flex points, and controlled downhill work helps seat the heel. When the boots feel comfortable on light hikes, start adding a lightly loaded backpack — 10–15 pounds — to simulate real trail conditions.
Addressing Discomfort and Hotspots
It’s all about dialing in the details. If something feels off, don’t tough it out. Stop, make the adjustment, and learn from what your feet are telling you. Every little tweak brings you closer to that perfect trail-ready fit.
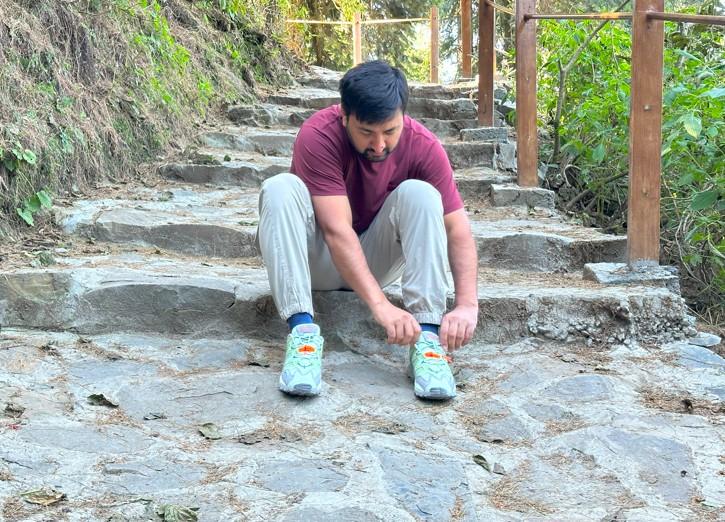
I noticed that the right hiking socks can make a huge difference when breaking in new boots — I break in all my boots with Darn Tough Light Hiker Micro Crew Socks. Always choose moisture-wicking ones made from merino wool. In my experience, cotton traps moisture. This increases friction and causes blisters. Make it a habit to identify any issues during and after your hikes. Notice any areas that feel tight or cause rubbing.
When it comes to preventive measures, I recommend blister pads or moleskin on spots that feel irritated. Adjust lacing techniques to secure your heel while relieving pressure points. Personally, I use the heel lock and window lacing techniques for maximum comfort.
Lacing Techniques for Comfort
Lacing isn’t just an afterthought — it’s one of the most underrated tools for dialing in boot fit. I use lacing techniques as a kind of fine-tuning system, adjusting tension zones to relieve pressure, lock the heel, and stabilize the midfoot. This makes your hike safer without altering the boot’s design.
In some cases, the laces that come with a new pair of hiking shoes don’t work well — I found that to be true with the Adidas Hyperturf Adventure Shoes, which perform well overall but benefit from a lace upgrade. Buy a good pair of laces for a better fit and improved comfort on the trail.
Window Lacing
When I felt too much pressure across the top of the foot — especially on steeper ascents — this was the go-to. Skipping one or two eyelets created a “window” that eased tightness in the midfoot while still allowing the rest of the boot to stay snug.
Heel Lock Lacing
This method came in clutch on descents, where heel lift can lead to brutal blisters. You need to loop the laces through the top eyelets and cinch them back down. This helps you secure the heel in place and prevent sliding. I found it useful once packs got heavier on more technical terrain.
Maintenance and Care
Clean your boots after every hike. Wipe away dirt and mud to maintain the boots’ flexibility and condition. Use water and a soft brush, but avoid harsh cleaners.
If you’re using leather boots, regularly condition them with leather-friendly products. It protects the leather and keeps it flexible.
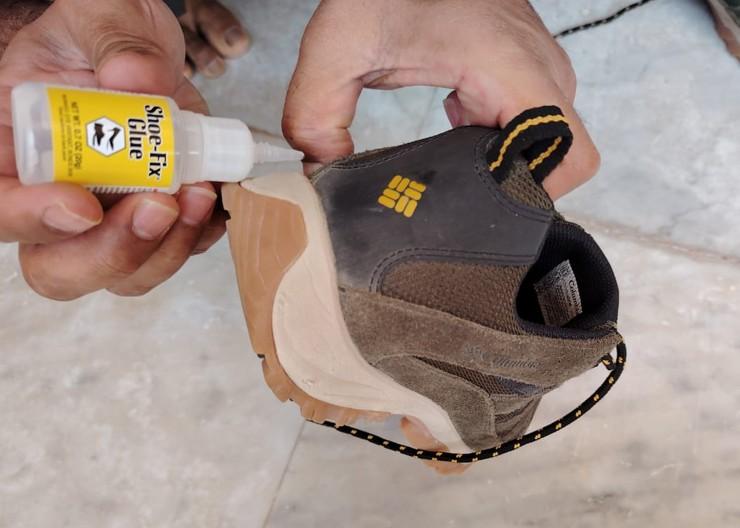
Bear in mind that leather tends to degrade when exposed to extreme heat and moisture. For this reason, I always store my hiking boots and shoes in a cool and dry place. Leather boots need ventilation, so don’t store them in boxes. I also keep shoe glue at home to repair my hiking boots in case of minor damage on the trail.
Another lesson learned the hard way — never dry boots near direct heat. Campfires, heaters, and car dashboards can warp the material or break down adhesives. Instead, I air-dry boots in shaded, ventilated areas.
Common Mistakes to Avoid
Many rookie hikers rush the break-in process. Wearing new boots on long hikes without breaking them in often causes blisters and injury. As such, you’ll want to take the time to properly break in your boots.
Don’t disregard small discomforts either. Even mild rubbing can lead to bigger issues if not addressed early on.
Don’t skimp on socks. The wrong pair — especially cotton — can ruin an otherwise good boot.
Like I mentioned earlier, I always opt for moisture-wicking merino wool, and in my experience, this one tweak can prevent most blister-related issues.
Conclusion
Breaking in hiking boots isn’t a quick fix, and it’s certainly not one-size-fits-all. But with the right approach — and a little time on the trail — you can avoid the blisters, the sore spots, and the frustration of boots that just don’t fit right. From gradual indoor wear to thoughtful adjustments on your first hikes, every step counts.
Remember: good boots are an investment in your feet, your comfort, and your adventures. So take your time, stay mindful of the details, and keep testing them until they mold to your stride. Choose quality merino wool socks, use proper lacing, and maintain your boots well for longevity.